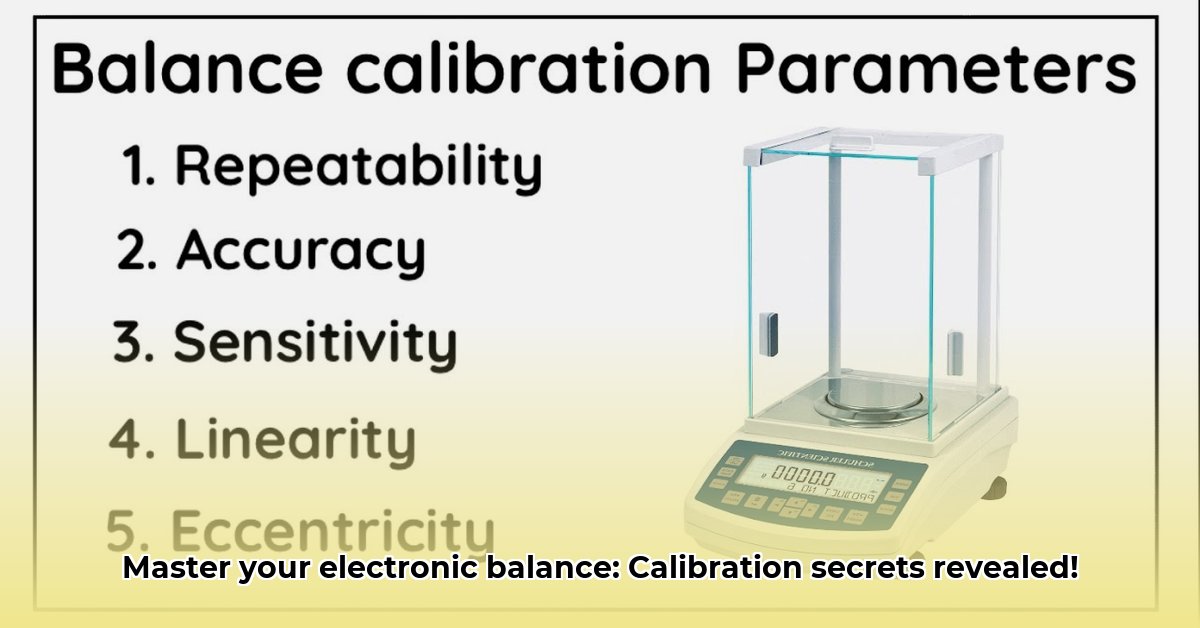
Electronic Balance Calibration: Ensuring Accurate Weighing in Your QC Lab
Accurate weighing forms the bedrock of reliable results in any quality control (QC) laboratory. Your electronic balance, a critical piece of equipment, requires regular calibration to maintain its accuracy and ensure the validity of your data. This comprehensive guide provides step-by-step instructions, troubleshooting tips, and considerations for regulatory compliance, empowering you to confidently calibrate your electronic balance and uphold the integrity of your laboratory's measurements. Ignoring regular calibration can lead to significant errors, impacting product quality, research outcomes, and potentially even regulatory compliance. For more information on electronic balances, check out this helpful resource: Electronic Balance Info.
Preparing for Calibration: Gathering Materials and Setting the Stage
Before commencing the calibration procedure, you must ensure you have the necessary components and a properly prepared workspace. This meticulous preparation significantly enhances the accuracy and reliability of your calibration process. Rushing this stage can lead to errors that undermine the whole process.
Gather Necessary Materials: Assemble the following items: a set of calibrated weights traceable to a national standard, a level surface (a stable bench or table), a lint-free cloth, a soft brush, and your electronic balance's instruction manual. The use of traceable weights is crucial for ensuring the accuracy of your calibration.
Prepare the Workspace: Ensure your workspace is clean and free from dust, debris, and any potential sources of vibration. Air drafts can also influence the balance readings, so ensure that the balance is shielded from any significant air currents. A clean work space minimizes risks of contamination or errors.
Balance Warm-up: Turn on your electronic balance and allow it to warm up for the recommended time specified in the manufacturer's instructions. This warm-up period is essential to allow the balance to stabilize and achieve optimal measurement precision. Typically, this process takes several minutes.
Initial Zero Calibration: Perform an initial zero calibration. This step sets the balance's baseline reading to zero, ensuring accurate measurements from the outset. This process is crucial in eliminating baseline errors.
Step-by-Step Calibration Procedure
The following steps represent a general calibration procedure. Always consult your specific electronic balance's instruction manual, as procedures may vary slightly depending on model and manufacturer. Adherence to the manufacturer's guidelines is crucial for proper use and calibration of your equipment.
Thorough Cleaning: Begin by cleaning the balance's weighing pan and surrounding surfaces with a soft brush and a slightly damp lint-free cloth. Remove any dust, debris, or fingerprints that might interfere with accurate measurements.
Leveling the Balance: Use the adjustable feet on the balance to ensure it's perfectly level. Utilize the built-in bubble level to verify the horizontal orientation. A level balance is critical; even a slight imbalance can lead to significant measurement errors.
External Calibration (If Applicable): Some balances require external calibration, where calibrated weights are placed on the pan, and adjustments are made to match the weight displayed to the actual weight of the standard. Follow your balance's specific instructions for this.
Internal Calibration (If Available): Most modern electronic balances offer internal calibration, which normally uses an internal reference weight. Use this internal calibration feature by following your balance's instructions to ensure calibration is done accurately. Internal calibration streamlines the calibration process and simplifies the procedure.
Weight Selection & Placement: Carefully select weights appropriate for your balance's measurement range and loading capacity. Always avoid overloading the balance, which can harm the instrument and result in inaccurate measurements.
Repeatability Check: After calibration, perform a repeatability check by weighing the same calibrated weight several times. Analysis of the standard deviation of these readings confirms the balance’s precision. A low standard deviation shows greater instrument stability and lower measurement uncertainty.
Record Keeping: Meticulously document each calibration step, including results, date, time, and any observations. This documentation is critical for compliance and maintaining traceability.
Troubleshooting Common Calibration Issues
Despite careful execution, calibration issues can arise. Here are solutions for common problems:
Error Messages: Refer to your balance's instruction manual for detailed explanations of error codes and troubleshooting steps. Understanding and addressing these codes will mitigate issues.
Inconsistent Readings: Inconsistent readings often stem from environmental factors like air drafts, vibrations, or electrostatic charge. Address these factors to obtain more consistent readings.
Calibration Failure: If calibration fails, check the integrity of your calibrated weights and ensure they are correctly placed on the weighing pan.
Maintaining Balance Accuracy: Best Practices for Ongoing Performance
Regular maintenance and preventive measures further enhance your balance's accuracy and longevity.
Regular Cleaning: Wipe down the balance after each use to prevent residue buildup and potential contamination.
Scheduled Maintenance: Follow the manufacturer's recommendations for regular maintenance and calibration. This might involve more frequent calibration depending on usage intensity.
Environmental Considerations: Control temperature and humidity in your weighing area to minimize environmental fluctuations impacting measurements.
Operator Training: Ensure thorough operator training on proper weighing techniques to reduce human errors.
Understanding and Reporting Measurement Uncertainty for GMP Compliance
Accurate reporting of measurement uncertainty is indispensable for GMP compliance. Measurement uncertainty accounts for potential errors or deviations in the measurement process.
Identifying Uncertainty Components: Include repeatability of measurements, weight uncertainty, linearity error, temperature fluctuations, and balance drift.
Quantifying Uncertainty Components: Employ statistical methods to determine numerical values for the uncertainties above.
Combining Uncertainties: Follow established methods (e.g., combining uncertainties in quadrature) to arrive at a combined standard uncertainty (uc).
Documentation: Maintain clear documentation of all calculations and justifications to support compliant reporting and enable audits.
Dr. Emily Carter, PhD, Senior Metrologist at NIST – National Institute of Standards and Technology, emphasizes: "Accurate measurement uncertainty calculation is crucial for data integrity and GMP compliance. It underscores meticulousness in the weighing process."
This guide provides a foundation for mastering electronic balance calibration. Remember to always consult your balance's specific manual and relevant regulatory guidelines for detailed instructions and compliance requirements. Implementing these practices ensures the precision and reliability of your weighing results, leading to more accurate experiments and reliable quality control.